Archived
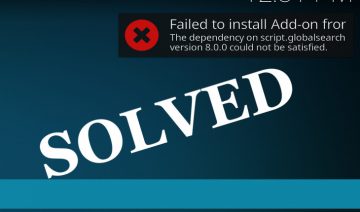
If you’ve experienced problems lately with Genesis addon it may comfort you to know you’re not alone.
Unfortunately, Genesis is no longer maintained and thus all the breakages you may experience will not be mitigated as for the time being.
However, the good news are Genesis has a successor!
Meet Exodus
Brought to you by the same person who created Genesis, the developer known as “lambda” has done it again.
Exodus has similar capabilities to those Genesis offers, only here, they are not broken.
So without further ado, let’s see how you can install the addon.
Direct Exodus Install
1. To install Exodus directly on your Kodi, start by downloading the file.
Download according to the instructions given on the first page of this guide.
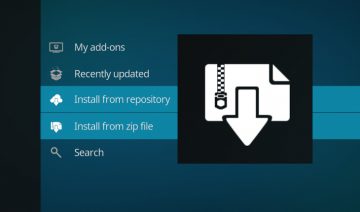
2. Next launch Kodi and navigate into System >> Add-ons >> Install from zip file.


3. Navigate into the location where you’ve downloaded Exodus repository zip file and click on it to install!

4. After you’ve installed the repository, go back to the Add-ons screen and this time select Install from repository > Exodus repository > Video add-ons > select Exodus and install.


That’s it, the addon will be inside VIDEOS > Video Add-ons which you can navigate into via the home screen.
See next page for how to install the addon only via Kodi’s interface.