MY IPTV PRO - forked from livestreamspro
Description
(MY IPTV PRO - forked from livestreamspro) In addition to what livestreams allowed you to do, you can now, 1. call regex in regex, 2. multiple regex in page, regex in session, also htmlunescape responses 3. create session from one regex and pass onto next in line 4. save sessions to a file and open again later 5. write python code in .py file, put in the profile directory and then call from your regex. 6. use epoctime, guid and unpack as functions already defined. 7. Use it to post values to the pages to get the proper responses 8. support many headers, like origin, X-Requested-With 9. you can now append cookies in response and then read in regex using includeheaders 10. You can now link to another web url via your xml using externallink 11. support for google captcha, now you can show and then post the text
How To Install
Direct installation
Via Repository
Via Directory
- First make sure you have the repository installed
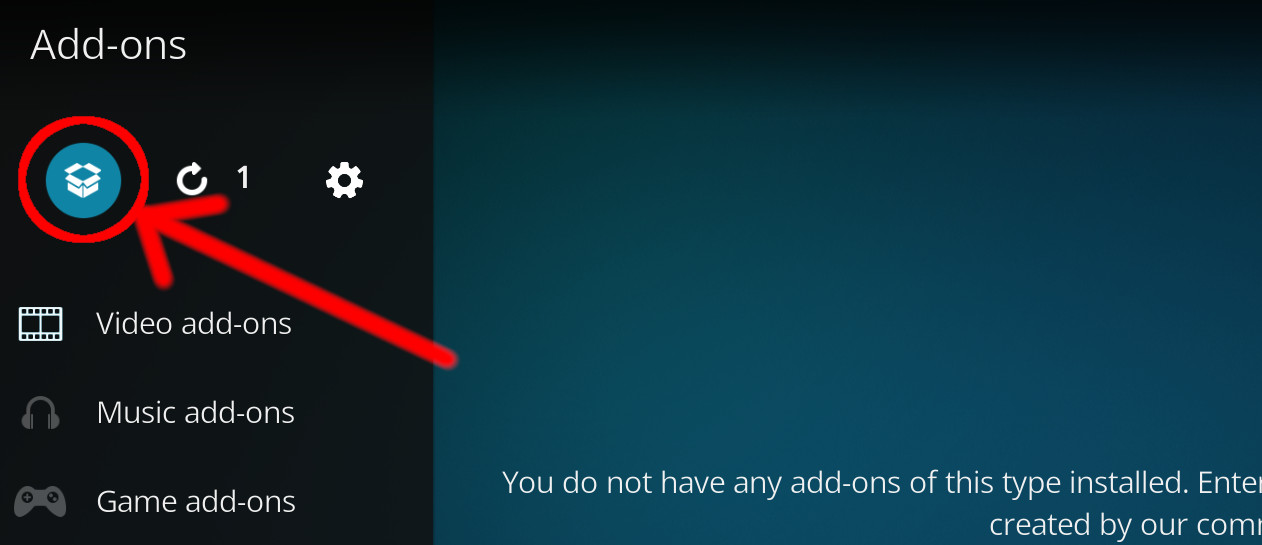
- Open up Kodi and navigate into Add-ons.

- Click the open box icon (above the side-menu).
- Select Install from repository.
- If you have at least one repository (besides the default) installed:
Select the repository you wish to install from.
- If you have at least one repository (besides the default) installed:
- Select the category the addon belongs to, in this case it should be video.
- Select MY IPTV PRO.
- Click Install.
For a full installation guide please click here.
Additional Information
| Updated: | March 21, 2023 |
In Repositories: |
|
| Platform: | all |
| License: | Not specified |
Depends On: |