Bypass geo-blocked content! and stay safe & annonymus online.
If you're blocked from viewing content based on your location, consider using a VPN to unblock it. A VPN is a service that switches your online identity with another one so that you appear online as if you're from another geographical location.
Check out NordVPN
Otaku video plugin
Disclaimer
Otaku is and always will be free and open-source. None of its code and resources may be sold or redistributed for any commercial purposes. This addon and its developers DO NOT host, create, or distribute any of the content displayed in the addon, it simply scrapes ad financed public websites. It is the responsibility of the user to ensure that they are following all applicable laws and regulations in their country. This addon and its developers are not in any way affiliated with Team Kodi or any of the sites and providers used in the addon.
Description
HD Animes
News
Changelog 0.4.8 [20230811]: - Fixed Artwork Bug - Fixed Airdates - Improved Aniwatch search - Made a couple of File Changes
How To Install
Direct installation
Via Repository
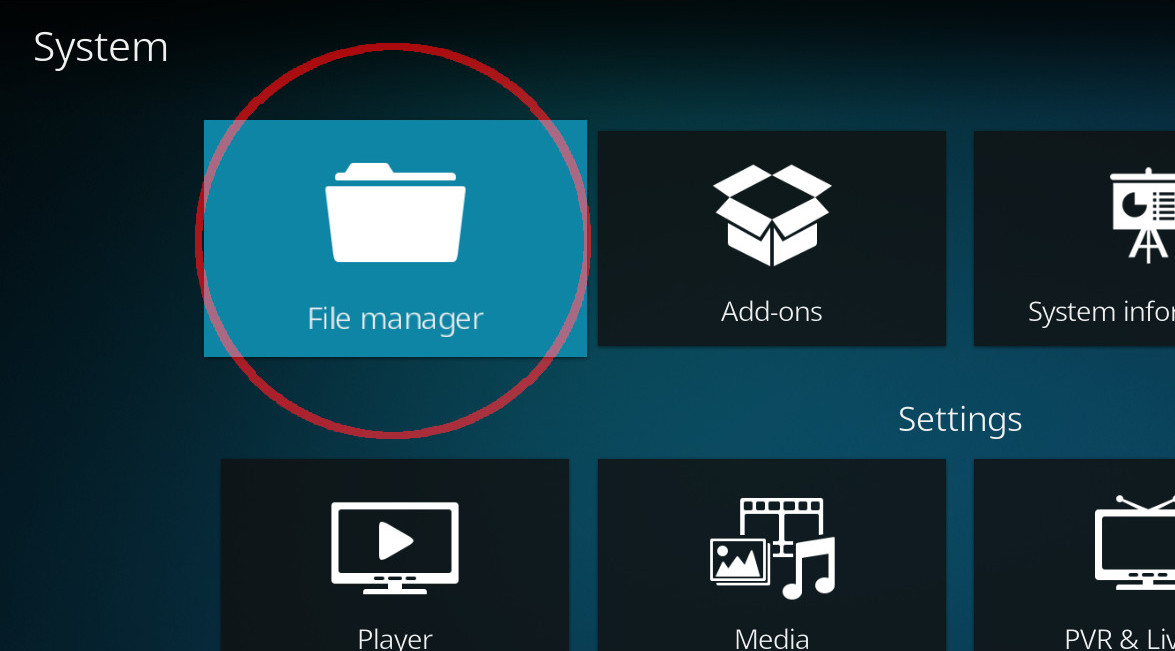
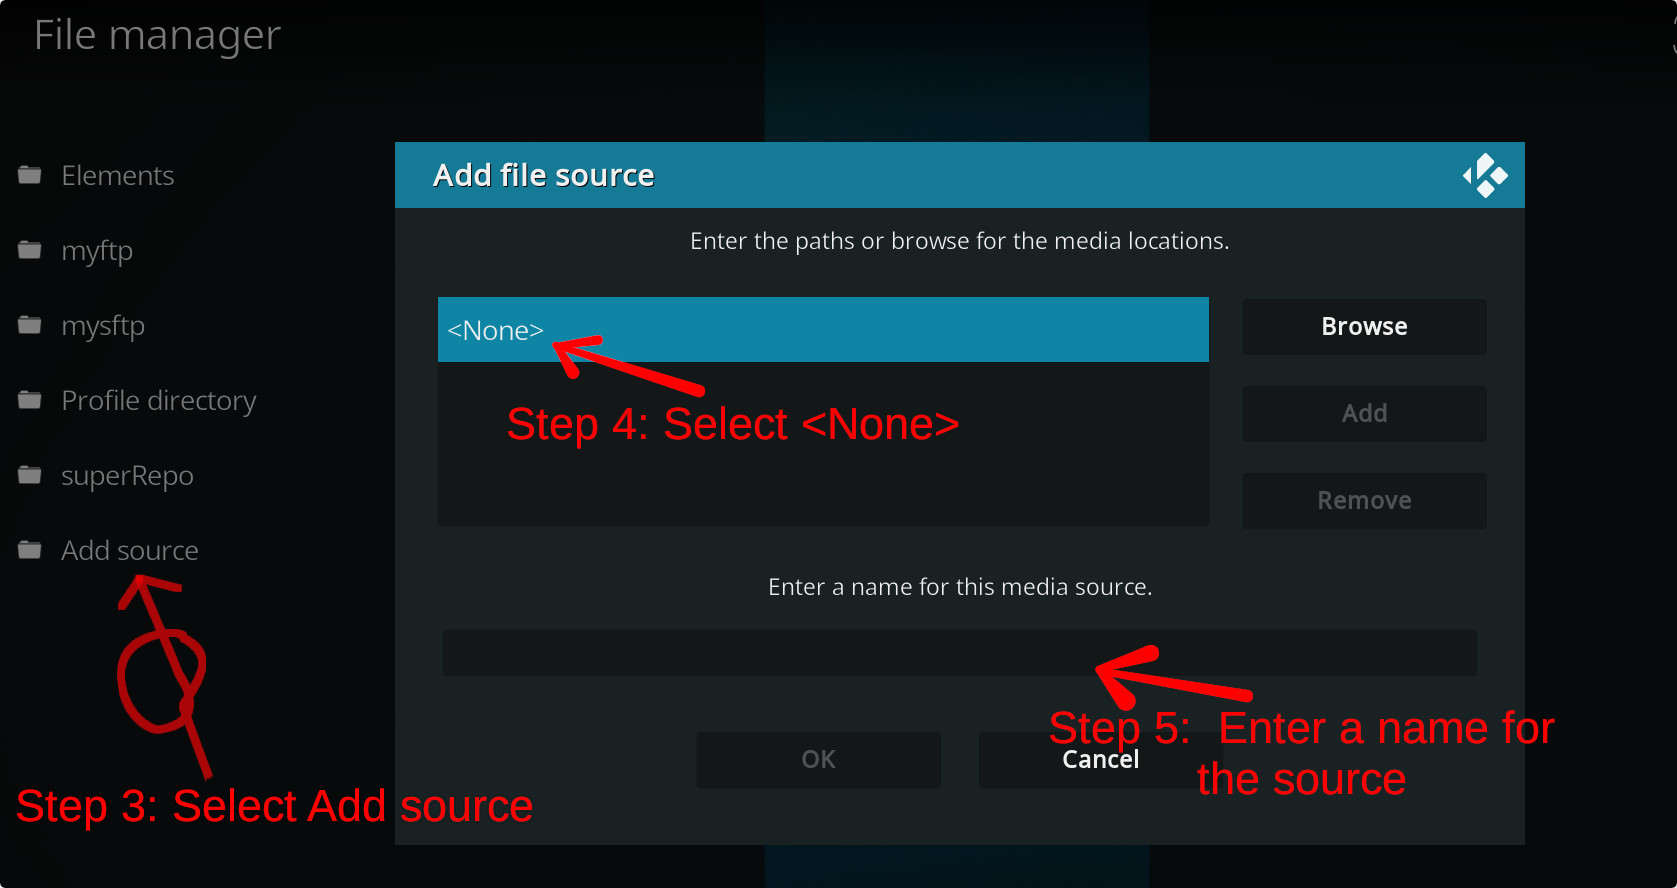
Via Directory
- First make sure you have the repository installed
- Open up Kodi and navigate into Add-ons.

- Click the open box icon (above the side-menu).
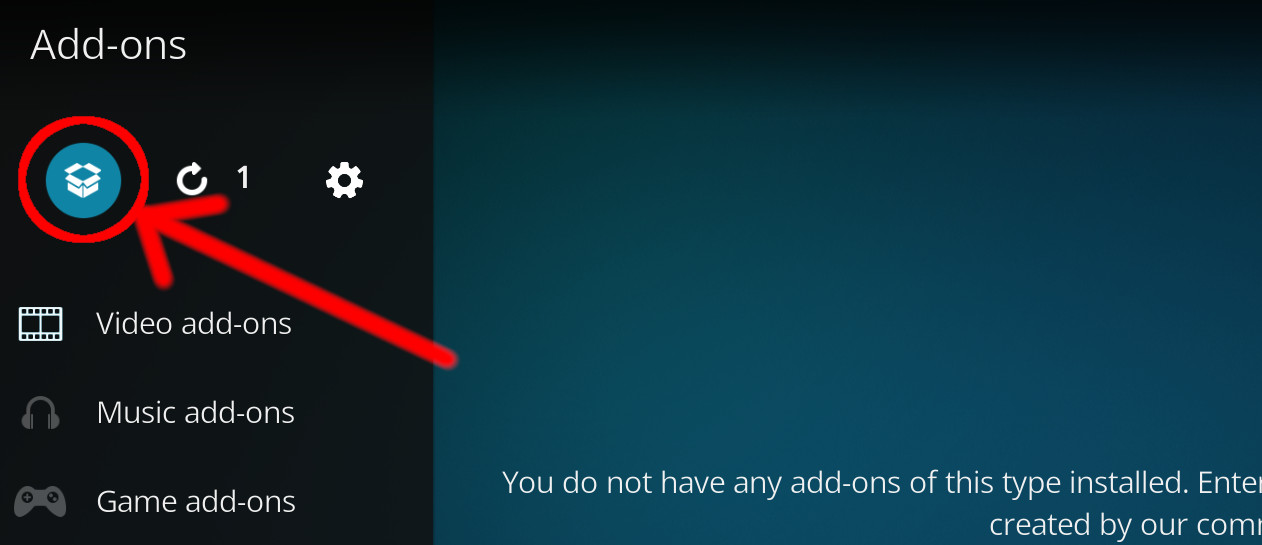
- Select Install from repository.
- If you have at least one repository (besides the default) installed:
Select the repository you wish to install from.
- If you have at least one repository (besides the default) installed:
- Select the category the addon belongs to, in this case it should be video.
- Select Otaku.
- Click Install.
For a full installation guide please click here.
Additional Information
| Updated: | August 12, 2023 |
In Repositories: | |
| Platform: | all |
| License: | GPL-3.0 |
Depends On: |