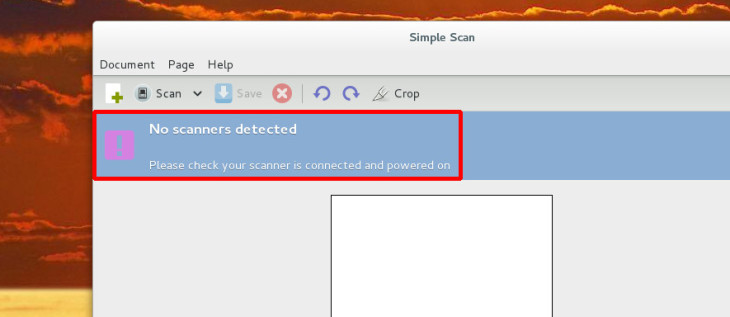
Frustrating isn’t it? Well, I know how it feels because I too had to deal with such situation myself, and calling it frustrating would be an understatement, but you get the picture.
So how do you handle such situation, that is, how do you get your scanner to be recognized by your currently used distro? and furthermore, how do you get it to work in case it doesn’t automagically does?
Make it be Recognized
First things first, in order to get your scanner to work you must first check whether your distro has the appropriate driver or not?
The good news is, since you’re using Linux there’s no need for you to go and search the Internet for a specific driver (unless yours is a rare case), instead all you have to do is to verify that you have the correct SANE (Scanner Access Now Easy) backend.
[Many distros comes with SANE pre-installed on them, yet, in case yours isn’t, just install SANE first and then continue as followed.]
1. To see that you have the correct SANE backend enabled, open up Terminal and type:
[If this doesn’t open a text file then try replacing gedit with the name of the text editor app you have installed on your distro.]
2. Now look for your manufacturer / model name inside this list, if you found it but noticed it’s commented by a # at the beginning of the line, then that means it’s not enabled. Remove the #, save and close the file.
If you’re not sure what is your manufacturer / model name and whether it’s supported or not, check out SANE supported devices, for more info (Note: unsupported models may have links to websites which offer drivers that will allow your scanner to work).

Make it Work
3. The next step after verifying your SANE backend is enabled, is to also make sure that your USER is part of the scanner group, so that when you open a scanning app you’ll have all the privileges needed to connect to the scanner.
To do so, simply type the following (inside Terminal):
That’s should do the trick, turn off and back on your scanner, and it should be now recognized by any SANE based app, such as; Simple-Scan or another.
Hope this helps, cheers!