A feature rich and fully customisable skin
Disclaimer
Madnox is the successor to Aeon Madnox by Mike_Doc, schimi2k and MeowMoo. It is a skin based on the design of Aeon by djh_ and Aeon Nox 4 by BigNoid and phil65. All credits to the makers of these skins and mods.
Description
Madnox stands for eye candy and customisation. There are many different views and options to present your media in the way you want it. All views are fully customisable. You can change the look with different styles, themes and options.
News
v1.0.0 - Release date: December 22, 2021 ADDITIONS • I added Canadian MPAA flags for Movies and TV Shows. Thanks to Juan Mortyme for the request and the info! FIXES • I updated the code for displaying the MPAA flags while playing a video.
How To Install
Direct installation
Via Repository
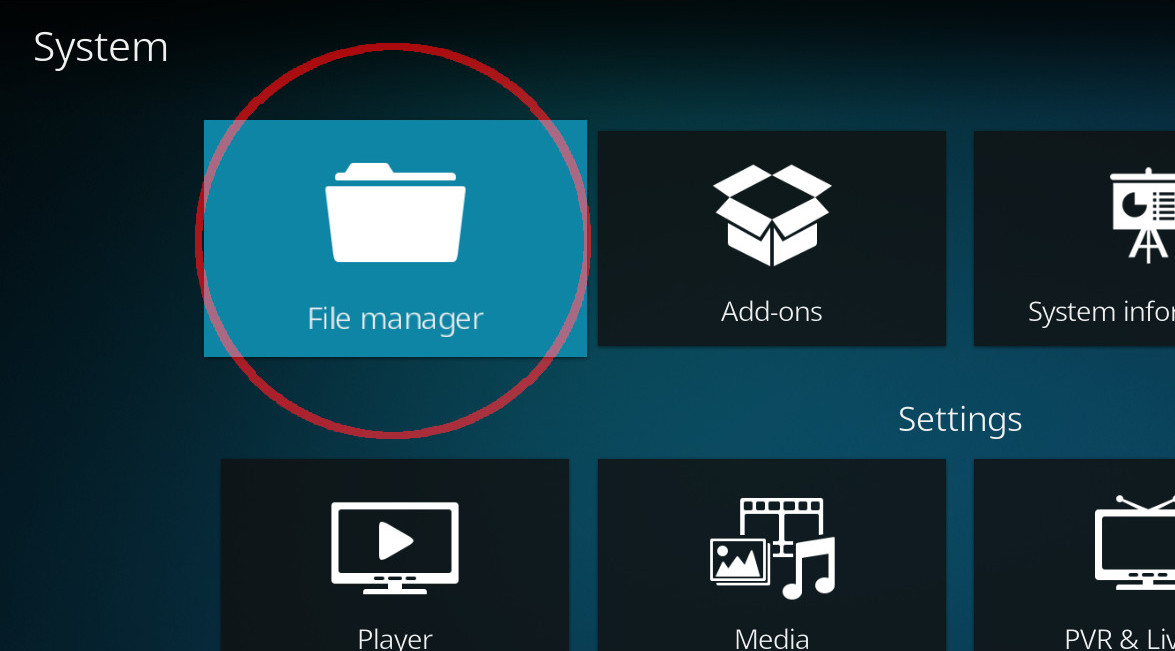
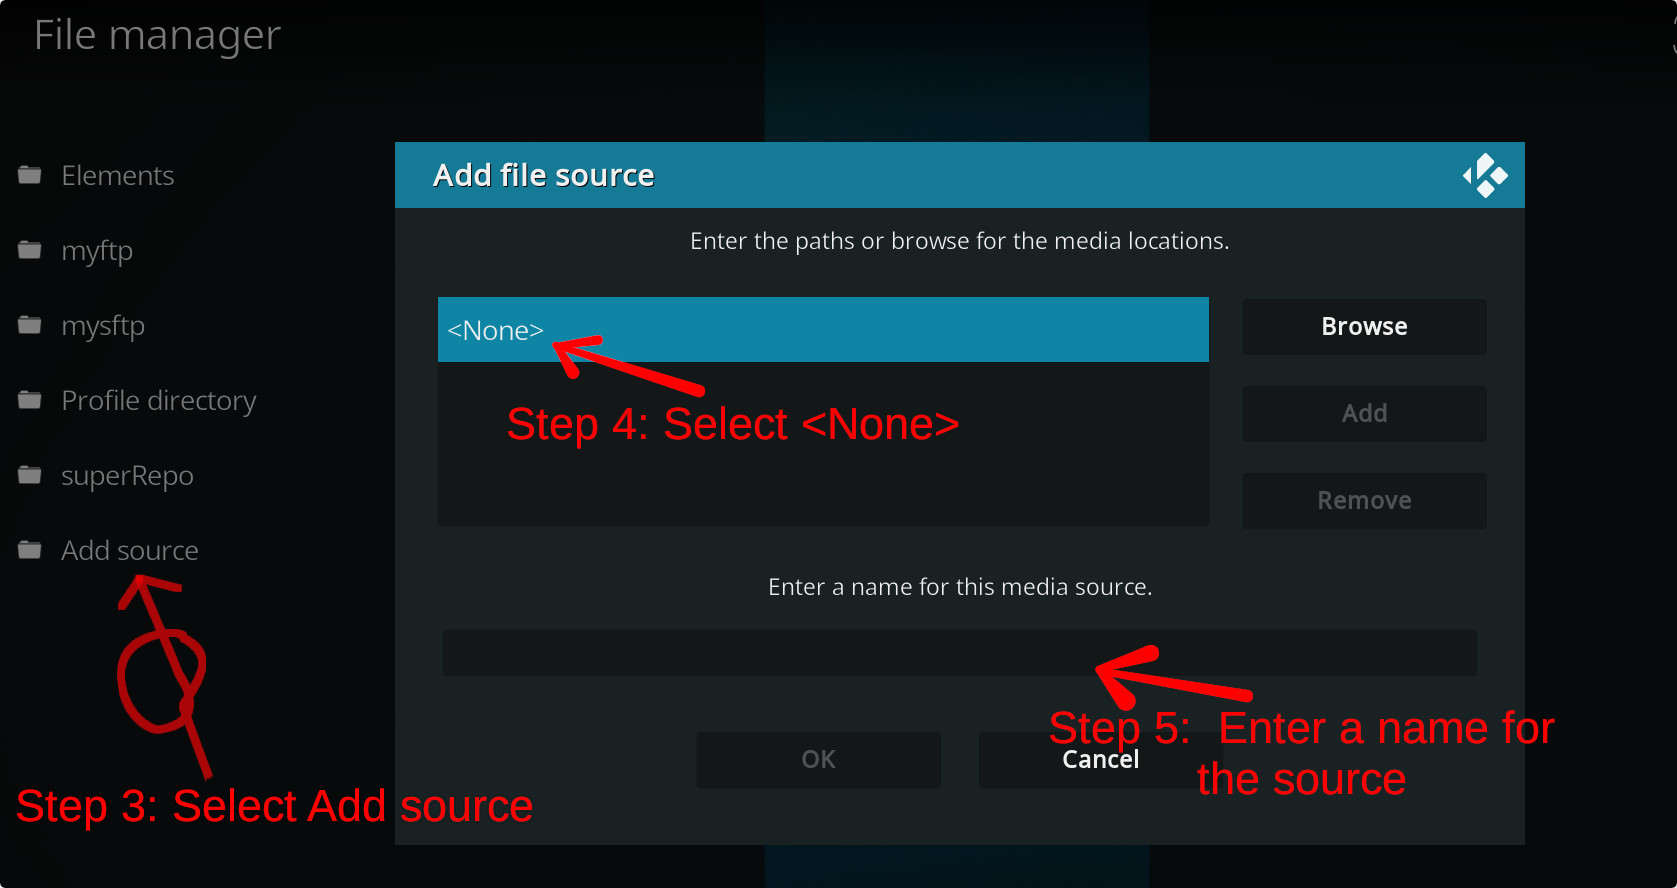
Via Directory
- First make sure you have the repository installed
- Open up Kodi and navigate into Add-ons.

- Click the open box icon (above the side-menu).
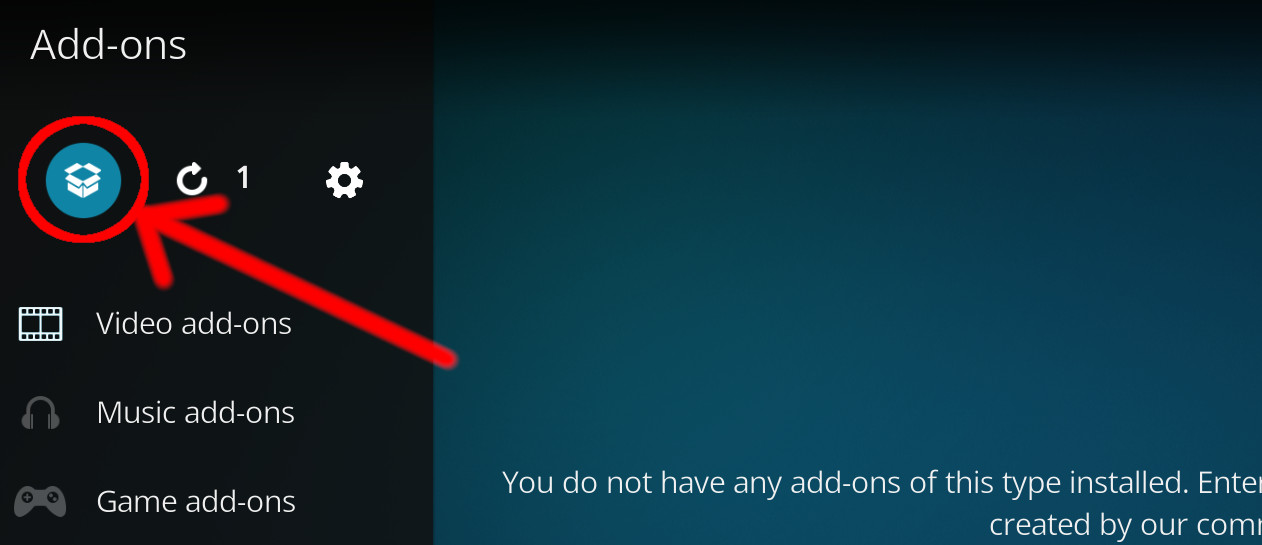
- Select Install from repository.
- If you have at least one repository (besides the default) installed:
Select the repository you wish to install from.
- If you have at least one repository (besides the default) installed:
- Select the category the addon belongs to, in this case it should be skin.
- Select Madnox (SKINBASE).
- Click Install.
For a full installation guide please click here.
Additional Information
| Updated: | May 07, 2023 |
In Repositories: |
|
| Platform: | all |
| License: | CC BY-SA 4.0, GNU GENERAL PUBLIC LICENSE Version 2.0 |
Depends On: |