Note: if you’re looking only for the solution of how to get rid of DNSUnlocker, go ahead and scroll to the How To Remove DNSUnlocker section.
My Meeting With DNSUnlocker
After approximately 2 months of not booting into my Windows operating system (OS) I decided to go ahead and load it, as I wanted to test whether there exists compatibility issues for users of that platform and IWF1.
Since I currently use Linux as my default operating system, it’s rather normal for me to only boot into Windows when I need / want to test all sorts of things.
The first thing I did once Windows finished its booting was opening up a browser (Edge) and loading IWF1 website.
To my surprise, IWF1 greeted me with some fancy advertisement I knew I never implemented and, to add insult to injury, it included the kind of ads IWF1 never had and probably never will – hidden pop-up ads which open up once you click anywhere on the page.
Thinking IWF1 might have been compromised by some hacker (as happened last year – a thing which is highly unlikely because since then I’ve bolstered IWF1 security greatly), I immediately opened another Web browser and another website to see whether the issue stems from a different source.
My suspicions turned out to be accurate as I found that the same ads were following me around to other websites and browsers. Although, it was a bit confusing to conclude that at first, since not all websites I visited were impacted by the adware (more about this behavior in “About The Attack” section).
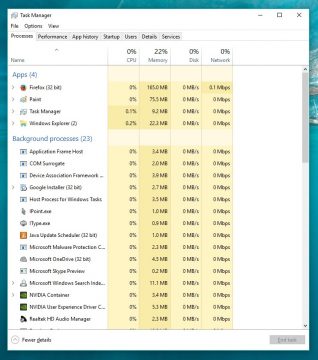
Being well acquainted with how malicious software usually works, I opened up both Windows Task Manager and Uninstaller so that I could close the process of the virus and remove it from my system, yet, I found no suspicious process (Later that day I remembered that I’ve previously installed some shady program for testing purposes and deleted it right after).
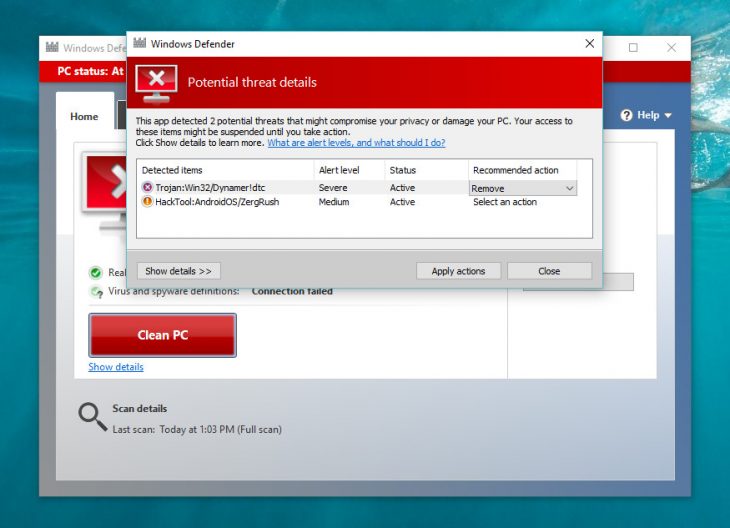
Out of curiosity, I also opened Windows Defender and let it scan for viruses, just to see whether it’s any good. It turned to be a complete waste of time, after two hours of full scan, not only it didn’t find the virus but it also indicated false ones[1].
So there I was, bewildered, wondering where on earth could this malicious program be hiding?
The answer popped right into my mind once I’ve examined the malware more carefully, all the ads were branded by “DNSUnlocker”.
DNS for those who don’t know, stands for Domain Name System – it is how your browser or any other program that navigates online can find the right address when you insert something like https://iwf1.com into the address bar. The way it works is basically thus –
Once you enter an address, the browser then goes to the NS (Name Server) configured on your local machine or by your ISP and search for the address there, when a match is found the NS returns a numeric value known to most people as IP address, using that IP address in accordance to the Internet Protocol the browser can then reach its destination.
So, it was obvious that although the malicious program was already gone from my computer, the configuration of my DNS was still compromised.
I opened up my network settings and there it was, my DNS settings were configured to go through the following IP addresses: 82.163.142.7 and 95.211.158.134.
Changing these IP addresses remedy the problem almost right away, no reboot was required only restarting the browsers and the new DNS configuration started taking effect.
About The Attack
This type of attacks are called “man-in-the-middle” by their field experts lexicon as the malicious code do not resides inside the local host machine nor in the destination’s one, rather, it gets added by a third party somewhere in the middle – hence the name “man-in-the-middle”.
Using a secure connection prevents man-in-the-middle attacks by warning the user that the connection is not authenticated – explains why some websites (including IWF1 through secure connection) were not impacted by the adware.
The way DNSUnlocker infiltrates a client’s machine is usually either through deceiving the client to install a software with a different name and purpose, or, through bundling it with a legitimate different software.
How To Remove DNSUnlocker
To remove DNSUnlocker follow the following steps:
1. Open up your Windows Task Manager (simply search for the program using Windows’ default search i.e. the magnifier glass icon next to the start menu icon) and look for a DNSUnlocker process or a process with a suspicious name you don’t trust, for example it could be a name of a program you’ve recently installed and you suspect is associated with DNSUnlocker.
If you find one, right click on it and select “End task”.
Be careful here, do not close processes which belongs to Windows’ system itself, only those which appear to belong to a third party software that you suspect.
2. Remove any new software you’ve recently installed which seem suspicious or you don’t trust, especially if that software is named DNSUnlocker or is associated with the term DNS.
Open up Control Panel (search for it using Windows’ default search) -> click “Uninstall a program” and remove shady programs.
3. Remove the offending DNS addresses 82.163.142.7 and 95.211.158.134 and optionally, set different ones yourself such as: 208.67.222.222 and 8.8.8.8 (these are OpenDNS’ and Google’s name servers respectively), otherwise you may leave it blank and choose “Obtain DNS server address automatically”.
To remove or add DNS addresses, open up Control Panel -> Network and Internet -> Network and Sharing Center -> Change Adapter Settings -> right-click your active internet connection and click properties.
Now under the Networking tab scroll down until you find “Internet Protocol Version 4 (TCP/IPv4)” -> highlight that then click on Properties. If you want to Obtain DNS automatically select the option here otherwise select “Use the following DNS server addresses” option and add your own DNS addresses.
No matter what option you chose beforehand click on the “Advanced…” button -> select DNS tab and if you see one of the aforementioned offending DNS addresses – remove them.
Update: in addition, you may also want to delete suspicious files found under the location: C:\Windows\System32\Tasks such as those shown in the image below. The two files were found containing malware by an antivirus software.
A hint that may assist you in recognizing malicious files is the date they were installed / modified in, if it’s close to when you’ve started noticing DNSUnlocker then they might be related and you’ll probably want to check them online.
And one more thing, reinstalling your browsers would also be a good idea, I’ve found the “Edge” was locally infected by the virus.
4. Restart any program connected to the Internet (your browser and similar) to make changes take effect.
IWF1 Is Now Faster And More Secure
As a result of the DNSUnlocker attack on my personal computer, IWF1 is now defaulting to secure connection, that is, using the HTTPS protocol where the “S” stands for secure.
If you’ll take a glance at your browser’s address bar right now, you would see that “https” prefixes the address you’re currently connected to.
Although previously (for about 6 months by the time this article was written) IWF1 did offer readers the possibility to connect through a secure connection, it wasn’t the standard and readers had to manually type-in the HTTPS prefix in order to do so.
Moreover, not only IWF1 now defaults to HTTPS but furthermore, it also redirects users from the regular, non-secure, HTTP protocol to the secure one.
As mentioned earlier, HTTPS connection prevents a “man-in-the-middle” type of attacks therefore, at this point, you may wonder why didn’t IWF1 defaulted to it in the first place?
The answer to that question is simple – performance. Secure connection slows down your connection a bit due to everything is being encrypted in order to deliver that security.
As a person who seeks to achieve the best possible result out of everything I do, performance takes high place in my priority scale.
However, two things have happened recently that made security and the above statement align:
The first being my own experience of an attack that could’ve been rendered ineffective through HTTPS protocol – I’m sure visitors would appreciate the fact that the tiny bit of slower connection is only there for their own protection (and mine of course).
The second thing that happened recently, which is of no less importance, is the revision of the HTTP protocol itself in the form of HTTP/2.
After going through a period of stabilization where both major browsers and HTTP servers added and honed their support for HTTP version 2, it now can be effectively utilized with all of the benefits that entail its usage such as, for example, faster connections due to parallel request support as opposed to HTTP 1 which used a sequential method.
Add to that the fact that the major browsers, i.e. Firefox, Chrome, Opera, etc… stated they will only support HTTP 2 when it’s coupled with HTTPS (over TLS) and there you have it, the last straw that broke the camel’s back and made it use secure connection.
Therefore, thanks to HTTP 2, performance doesn’t get hit and in most cases even improved compared to the previous situation.
So, to conclude, the virus aftermath resulted in that IWF1 readers are from now on enjoying a more secure and faster experience due to the benefits of both HTTPS and HTTP 2 being effectively in use.
