Sure, it’s not the end of the world, not even close, but waiting for another round of restart, or rounds like that, is just an unnecessary nuisance which can be easily resolved by increasing GRUB’s timeout. So how do you do that?
Changing the TIMEOUT
Open up Terminal and log-in as root, i.e. type su and then your password.
Next copy paste the following command: gedit /etc/default/grub, assuming you are using GNOME Shell and you have “gedit” installed, otherwise, use a basic console editor, such as nano or vim (replace gedit with nano).
You’ll see some “notepad” like text editor opens up which looks somewhat like this:
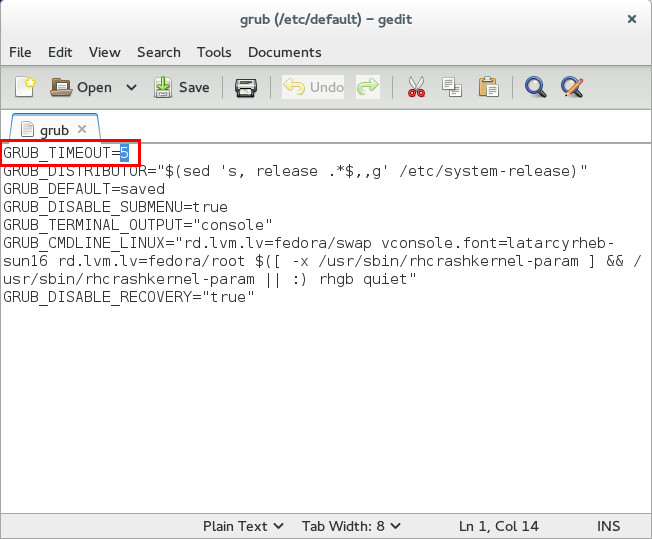
Search for the line which says: GRUB_TIMEOUT=<some-number>, and replace the number with your desired timeout, measured in seconds. Save and close the app.
Update GRUB
Now, before you go and reboot your system to see if it works, there’s one last thing left to do, this is – updating your grub config file so it will be aware of the newly made changes to it.
In order to do so, there are various commands and methods to go about, the most common ones which works with most distros are:
Or
If the update was successful, you should see an output similar to this one (image below):
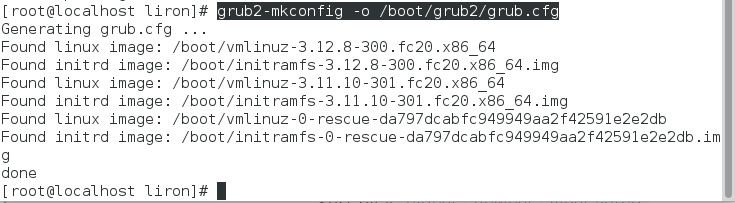
Reboot and enjoy the spare time you now have :-)