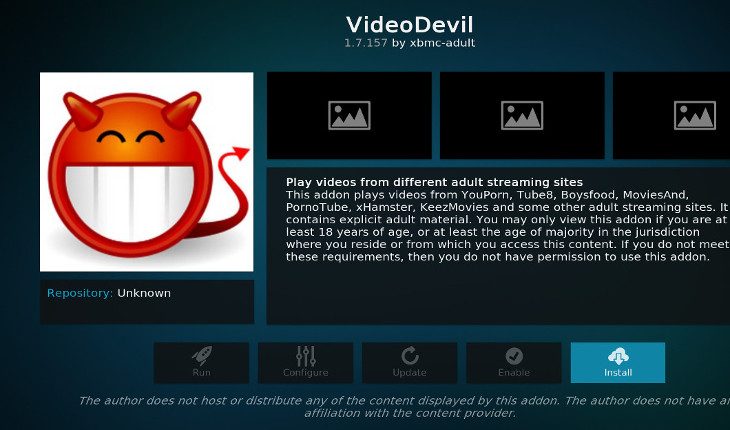
For those unfamiliar with the addon, VideoDevil is an addon you can install on your Kodi that lets you play videos from a variety of adult sites.
To install VideoDevil, you may choose one of the following options:
- Install directly
- Use a Repository
Install VideoDevil Directly
Installing VideoDevil directly is the quickest way to install the addon. To do so,
1. Start by downloading the addon zip file:
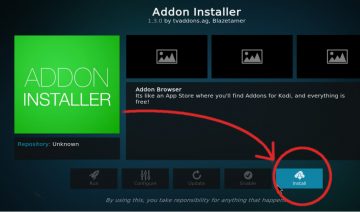
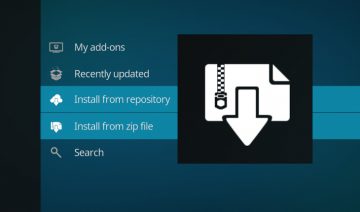
2. Open up Kodi and select “Add-ons” from the main menu inside the home-screen, then click the opened box icon to the top left of the “Add-ons” menu and select “Install from zip file”.
Note: if you’re getting a message that you need to enable “Unknown sources” and you’re not sure what to do, see: This Is How You Do It On “Krypton” step 4.
Kodi’s opened box icon takes you to add-ons manipulation screen
3. Navigate through the newly opened pane into the location where you’ve saved the VideoDevil zip file and select it then click Install.
That’s it! the installation may take a few moments but when it’s finished you’ll see a small notification informing you that addon installed successfully.

VideoDevil notification informing that the installation was successful
To enter VideoDevil, simply navigate (from Kodi’s home-screen) into “Add-ons” -> “Video add-ons” – you’ll see it there.