Install VideoDevil via Repository
Installing VideoDevil via a repository may be slower than installing directly, however the benefits of this method is that the repository takes care of updates automatically for you in addition to the fact that the entire installation process can be done via Kodi’s interface alone.
Requiremnets
- TVAddons repository installed
Installation
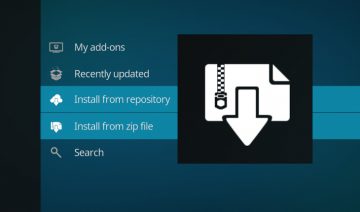
1. Open up Kodi and go into “Add-ons” (select it from the sidebar) -> click the opened box icon to the top left of the sidebar and select “Install from zip file”.
Note: if you’re getting a message that you need to enable “Unknown sources” and you’re not sure what to do, see: This Is How You Do It On “Krypton” step 4.
2. Select the TVAddons source from the list of sources and navigate into “kodi-repos” -> “xxx-adults” -> select “repository.xbmcadult-[VERSION-NUMBER].zip” to install.
The repository may take a few moments to install. When it’s ready you’ll see a notification informing you that it was installed successfully.
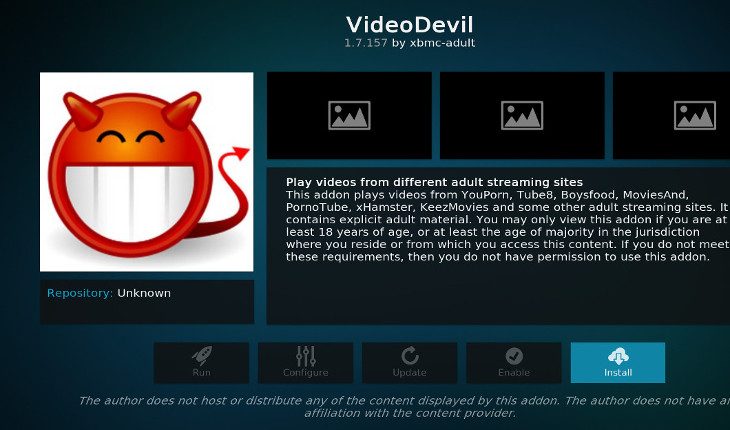
3. After you’ll install the repository, Kodi will return you to a screen where you’ll see the option: “Install from repository” – select that option then select “XBMC-Adult addons” -> “Video add-ons” -> “VideoDevil” and click on install.
That’s it! the installation may take a few moments but when it’s finished you’ll see a small notification informing you that addon installed successfully.
To enter VideoDevil, simply navigate (from Kodi’s home-screen) into “Add-ons” -> “Video add-ons” – you’ll see it there.


