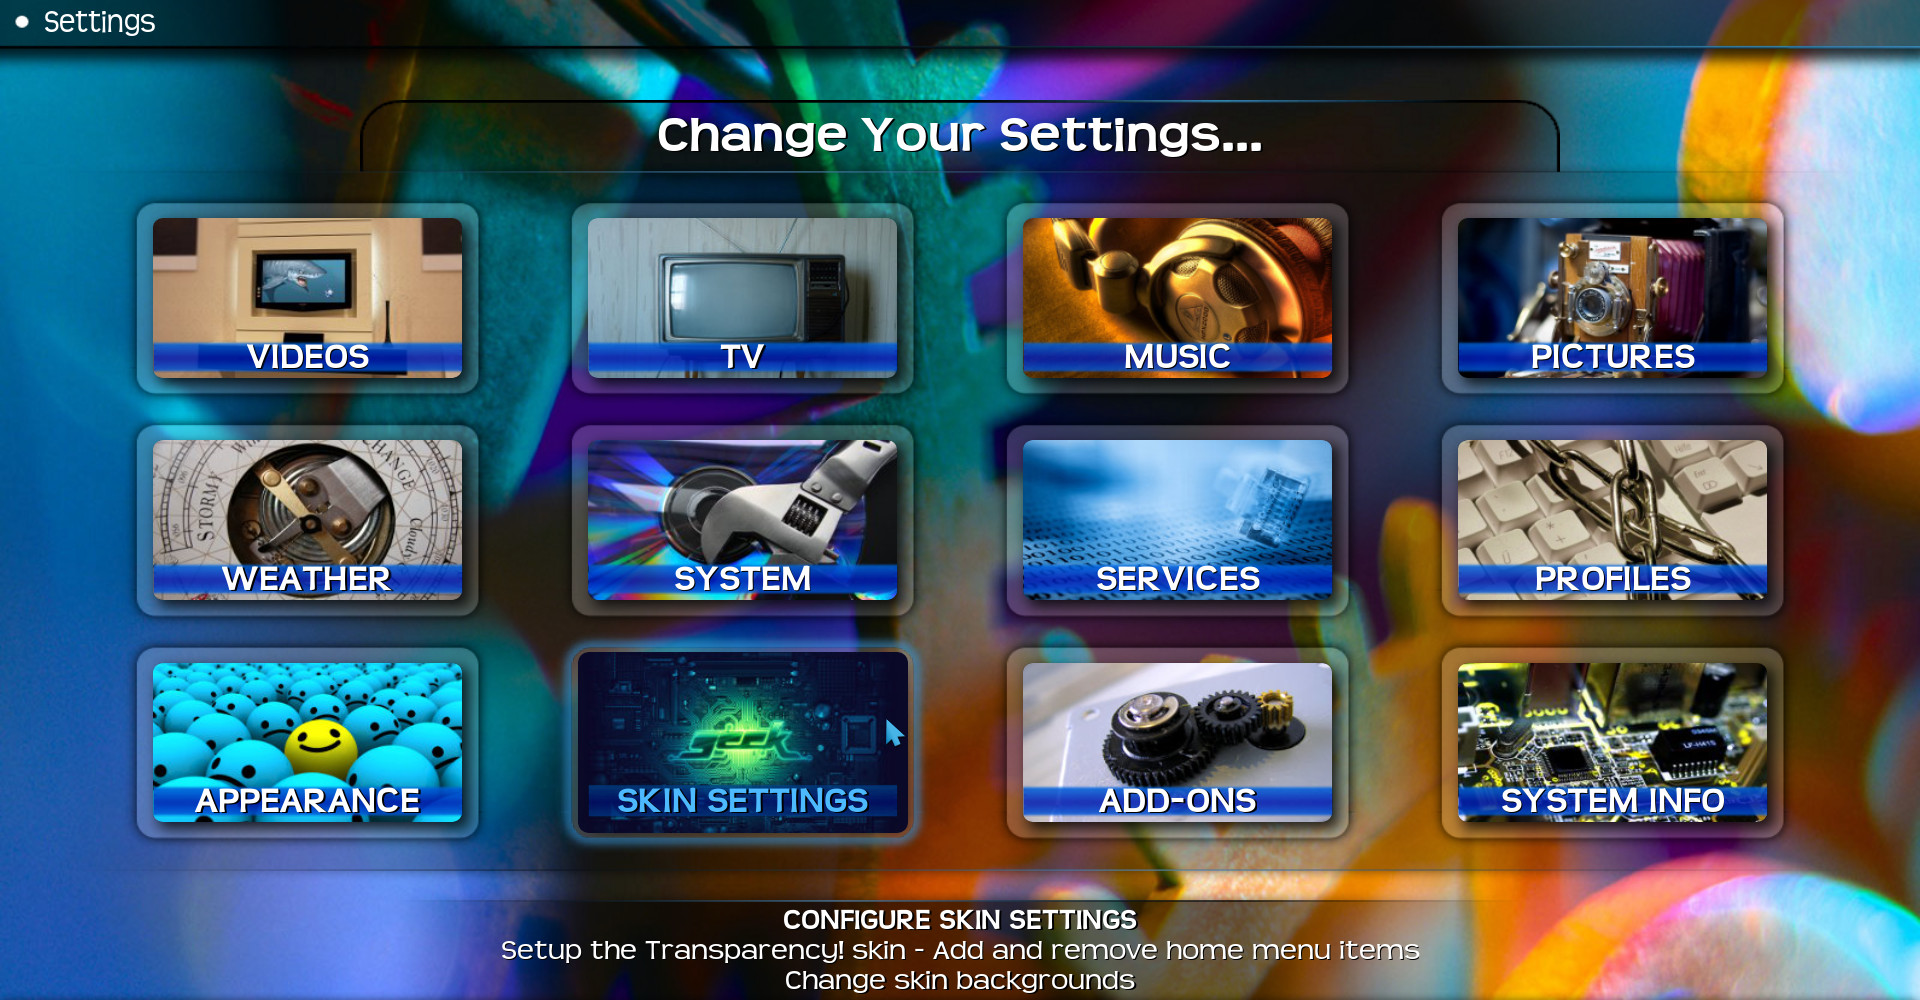
Changing Kodi’s theme will not only change the way Kodi looks but may also enhance the overall experience you get from it.
For instance, new themes may sometimes come with a built-in support for playing a selected playlist while browsing Kodi, or with the ability to show shortcut links right in the home screen, and more…
So, if you’re interested in customizing Kodi so it could better suit your daily work-flow and needs – changing the theme might be the best place to start at.
Changing Kodi’s theme / skin
Time to get practical, in order to change the theme we’ll need to select and download a different one.
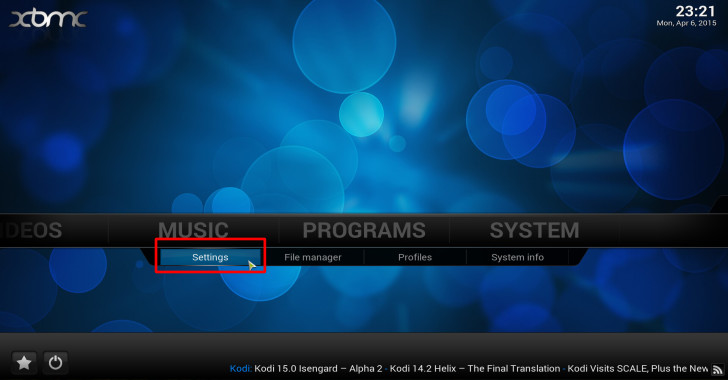
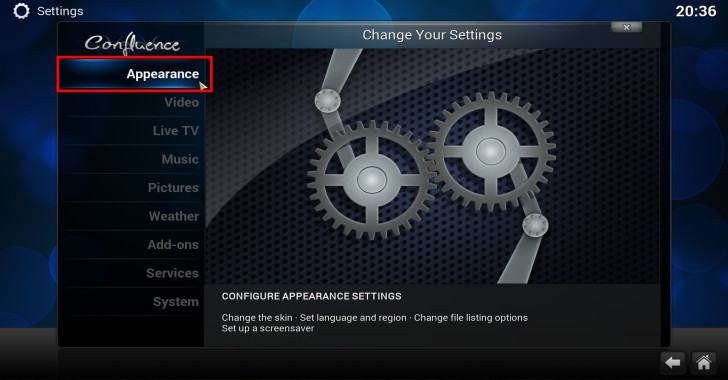
Luckily, this feature comes built-in with Kodi so what we actually have to do is navigate (from home-screen) into System >> Settings >> Appearance.
Now, select Skin from the left side pane (should be selected by default) then click on the row in the right pane where it also says Skin.
Click on Get More… and select any theme you like from the list to the left.
Tip! you may use both of the followings in order to make a wiser decision: Comparison of skin features , Kodi/XBMC Skins.
How Do I revert / change to a skin I’ve already installed?
In order to revert or to switch to a skin you’ve already installed all you have to do is return back into System >> Settings >> Appearance >> Skin, click on the row in the right pane where it also says Skin –
This time, instead of clicking Get More… as before, you should also see a list of the already installed themes – choose the one you want.


