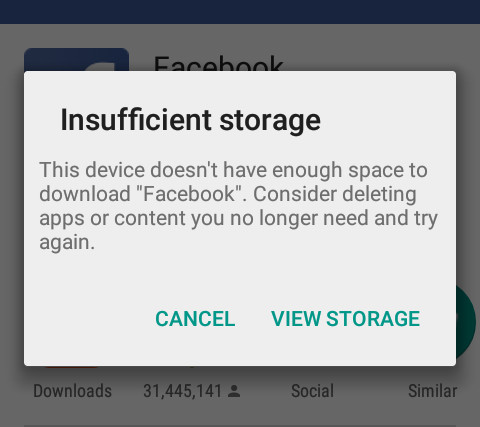
When you encounter a situation where your Android device complains about lack of space – usually happens upon app installations and upgrades – know that there’s a way to handle this without spending money on more storage or on another device and also, without losing any vital data (photos, videos, etc…).
Before we dive straight into the methods you can use to deal with this issue, it might be important for you to understand why are you seeing this message in the first place. Hint: it doesn’t necessarily related to the space you have on your internal SD card.
Why Am I Seeing “Insufficient storage” Message?
Sometimes, you may get this message, even though the available space on your internal storage is larger than 2, 3 or more Gigabytes.
So, does it mean the app you’re trying to install actually takes more than that amount of space? Answer: No, not necessarily.
The key point here, is to understand that your internal storage is actually divided into partitions, similar to the way your Microsoft Windows can have more than one drive (drive C:, drive D:, and so on) on a sole hard disk.
Generally Android, largely due to security reasons, advocates in separating user data from app data and from system data.
Therefore, usually when you see this message, the total amount of available space on your internal storage may indicate a large amount, however, often it’s the (app) data partition which gets cluttered very quickly and thus provoking the message.
Hence now that you understand why is it happening, it’s time to learn 2 simple ways you can solve this issue.
Dealing With “Insufficient storage”
Method #1: Clear Cached Data
To make room for some new apps or for upgrading existing ones, you may simply remove cached data.
The purpose of “cache” is to store temporary data that may be used to enhance things like browsing experience by boosting the page loading speed, however, with time, it can also hinder experience and may cause apps misbehaviour.
Thus, it may or may not be useful for you to remove it. Nonetheless, it shouldn’t be harmful to do so.
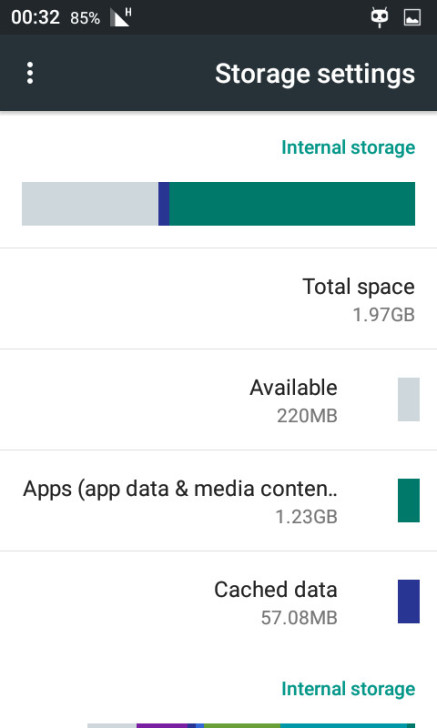
To clear the cache globally for all apps, simply open up the settings menu by tapping the cogwheel icon of the Settings app, then scroll down to Storage and tap it to go in.
You may see more than one Internal storage sections there, usually the one with the smaller amount of total space is the app data partition and the one you’d like to clear its cache.
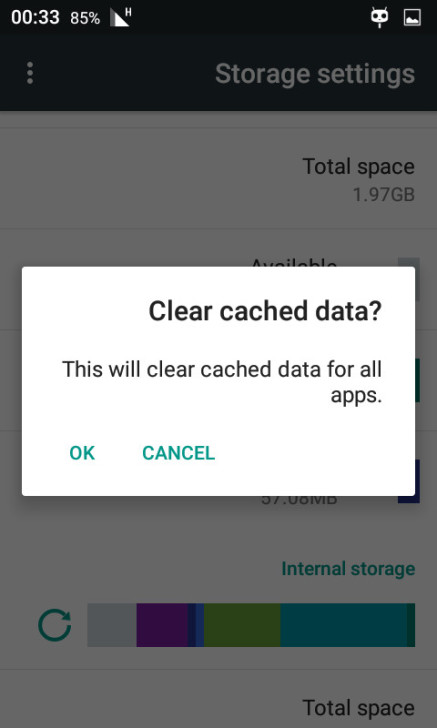
Tap on Cached data then tap OK to clear it.
There’s also a way to clear individual apps cache by going into Settings > Apps > select the app you like to clear its cache and tap the CLEAR CACHE button.
Note, this would be more tedious since most individual apps don’t carry much cached data that would suffice to clear enough room for installing a new app.
Method #2: Move To SD Card
Another method you can use to solve the insufficient storage problem is to simply move apps from the data partition into the SD card partition.
This is reversible of course, as long as you have enough space to move the app back to the data partition.
Although it shouldn’t incur any performance setbacks, security wise, it may not be the ultimate solution.
Nonetheless, if have no fear regarding the data a specific app might disclose about you then, by all means, feel free to use this method.
Go into Settings > Apps > select the app you like to move to the SD card and tap the MOVE TO SD CARD button.


