Basically, there are 2 main ways you can install addons on Kodi, one is by downloading the addon file and install it directly, the second is by adding a repository which will enable you to install the addon through it.
If you are able to download the file and access it directly via your Kodi running machine (for instance, if you’re using Kodi on PC or similar device) – then I’d suggest you use the “Directly” method, simply because it’s shorter.
In all cases, I suggest you make sure you have the latest Kodi installed first.
Installing Genesis Directly
1. To install Genesis directly on your Kodi (i.e. not via a repository), start by downloading the file which is linked below ↴ .
Important! some web browsers, such as Apple’s Safari for example, may require you to right-click the link and then select “save as” from the menu list, otherwise the browser might download and extract the file for you, effectively rendering it non-installable.
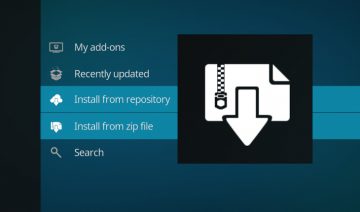
2. Next launch Kodi and navigate into System >> Settings >> Add-ons >> Install from zip file.
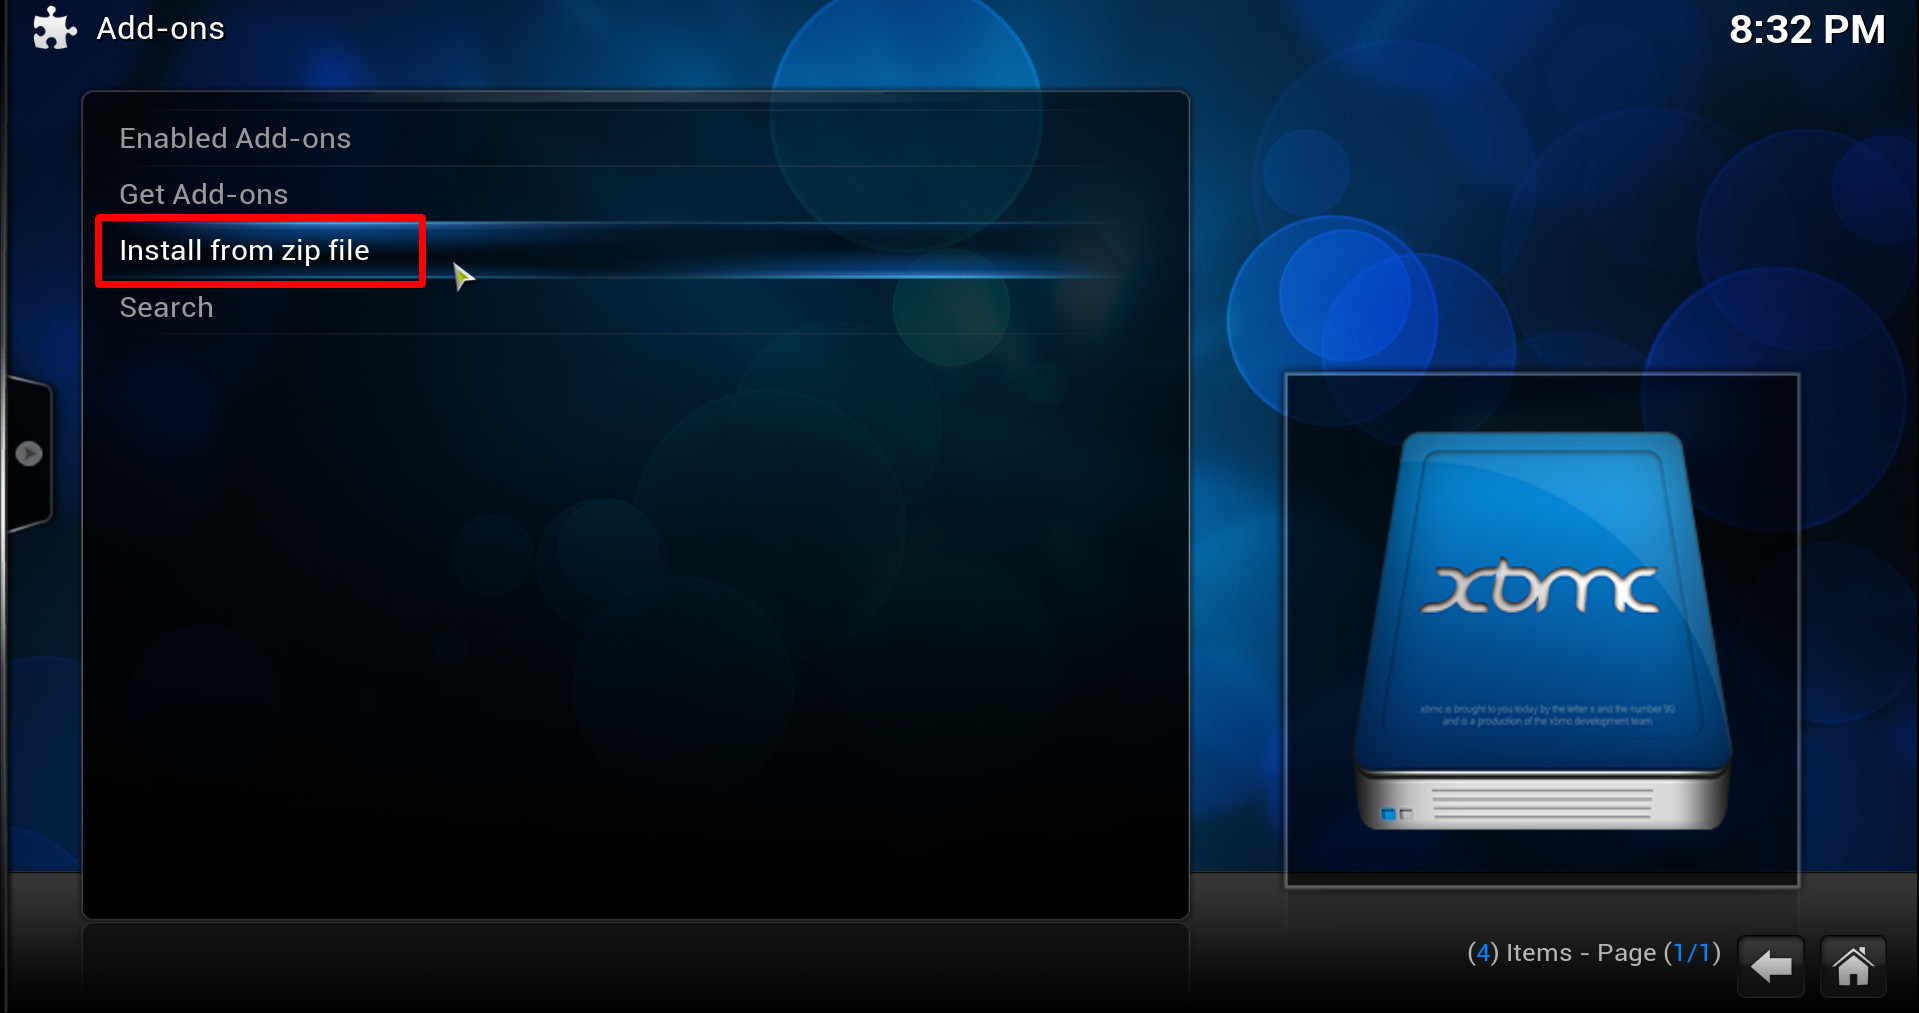
3. Navigate into the location where you’ve downloaded Genesis zip file and click on it to install!

That’s it! only three simple steps, you may now want to skip to the last page of this article in order to learn a few tips about Genesis settings.