While many already knows that XBMCtorrent isn’t being developed anymore and that Pulsar has took its place, not many are aware of the steps needed to get it to work.
For instance, Pulsar requires at least one or more additional addons for it to be able to fetch streams – these addons are called “providers”. Don’t worry, you will learn how to get them in moment.
Therefor this short ‘How To’ will attempt to provide users with the complete instructions of how to get Pulsar to work. Ready? let’s begin.
Make Pulsar Work
Requirements:
- XBMC / Kodi
- Pulsar addon (this link also tells you how to install Pulsar)
Step #1
Once you have Pulsar installed, the first thing you should do is to get some “providers” that will provide Pulsar the links from which it’ll pull streams.
To make things simple, we shall use a special repository (by iCanuckXBMCrepo) that gathers some of the most common providers under one roof.
* The reason Pulsar is dependent upon these providers is basically for it to remain legal.
Step #2
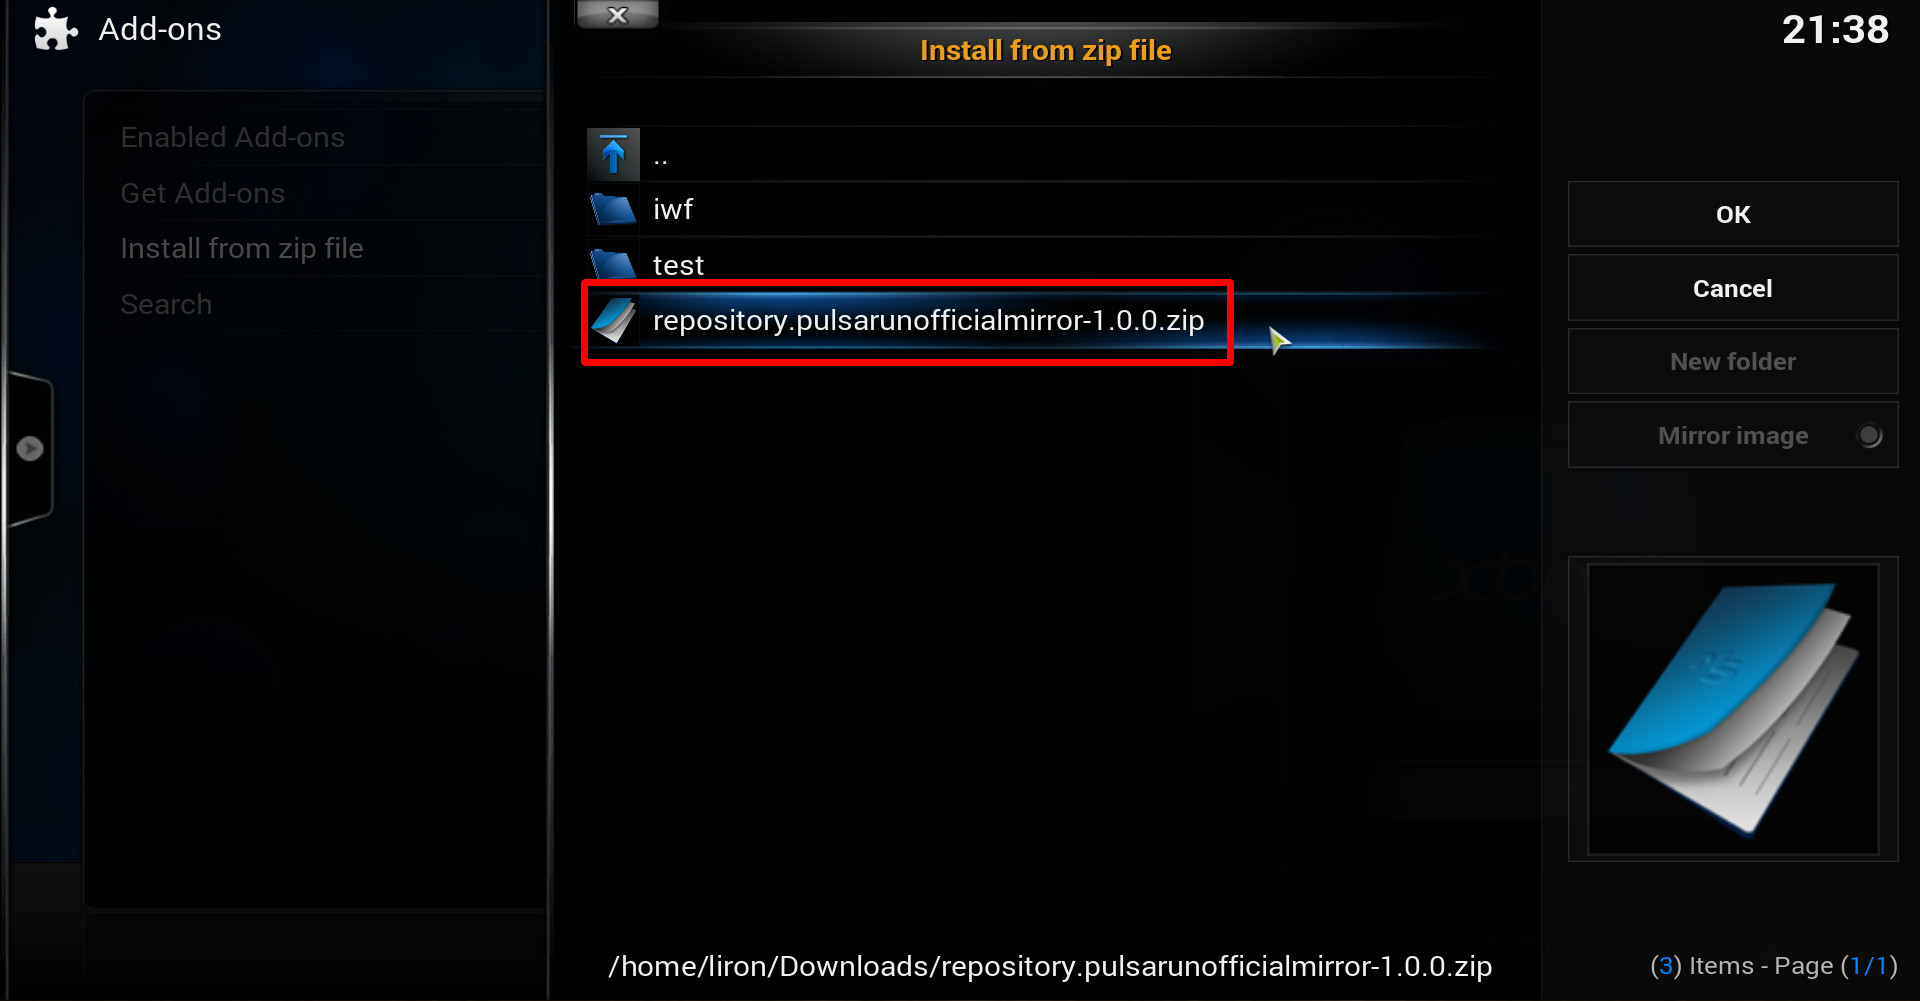
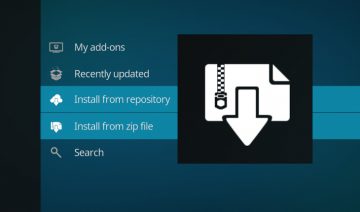
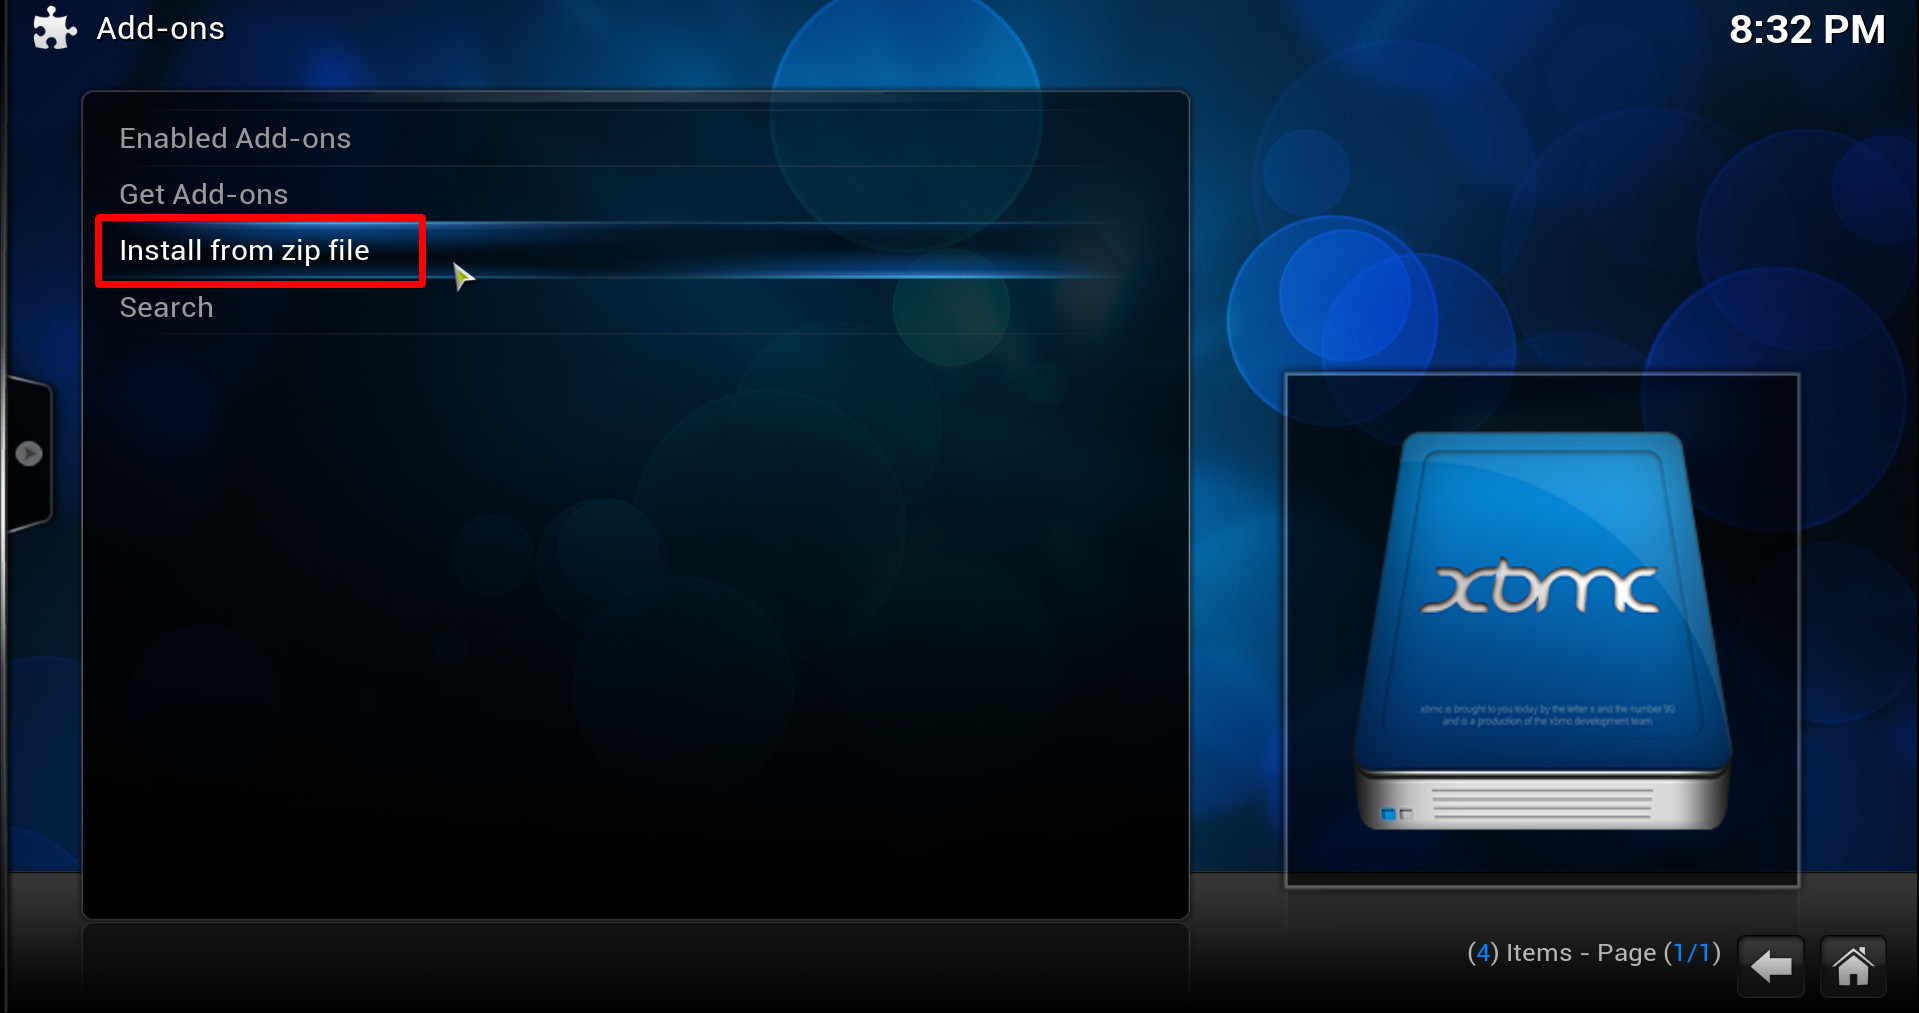
Install Pulsar unofficial repository addon just like you would any other addon, by going inside System >> Settings >> Add-ons >> Install from zip file.

Navigate into the location where you’ve downloaded the zip file and click on it to install!